Level 2
Create a customer
Add a customer record so invoices can reuse the correct billing name, email, ABN, and address.
- Who can do this
- Customer edit access
- Last verified
- 2026-06-06
- Steps
- 4
- Product area
- Invoicing
Prepare these items.
- Invoicing is enabled.
- Customer name and invoice email are ready.
- Use dummy customer details in walkthroughs.
Follow the workflow.
-
1
Open Customer
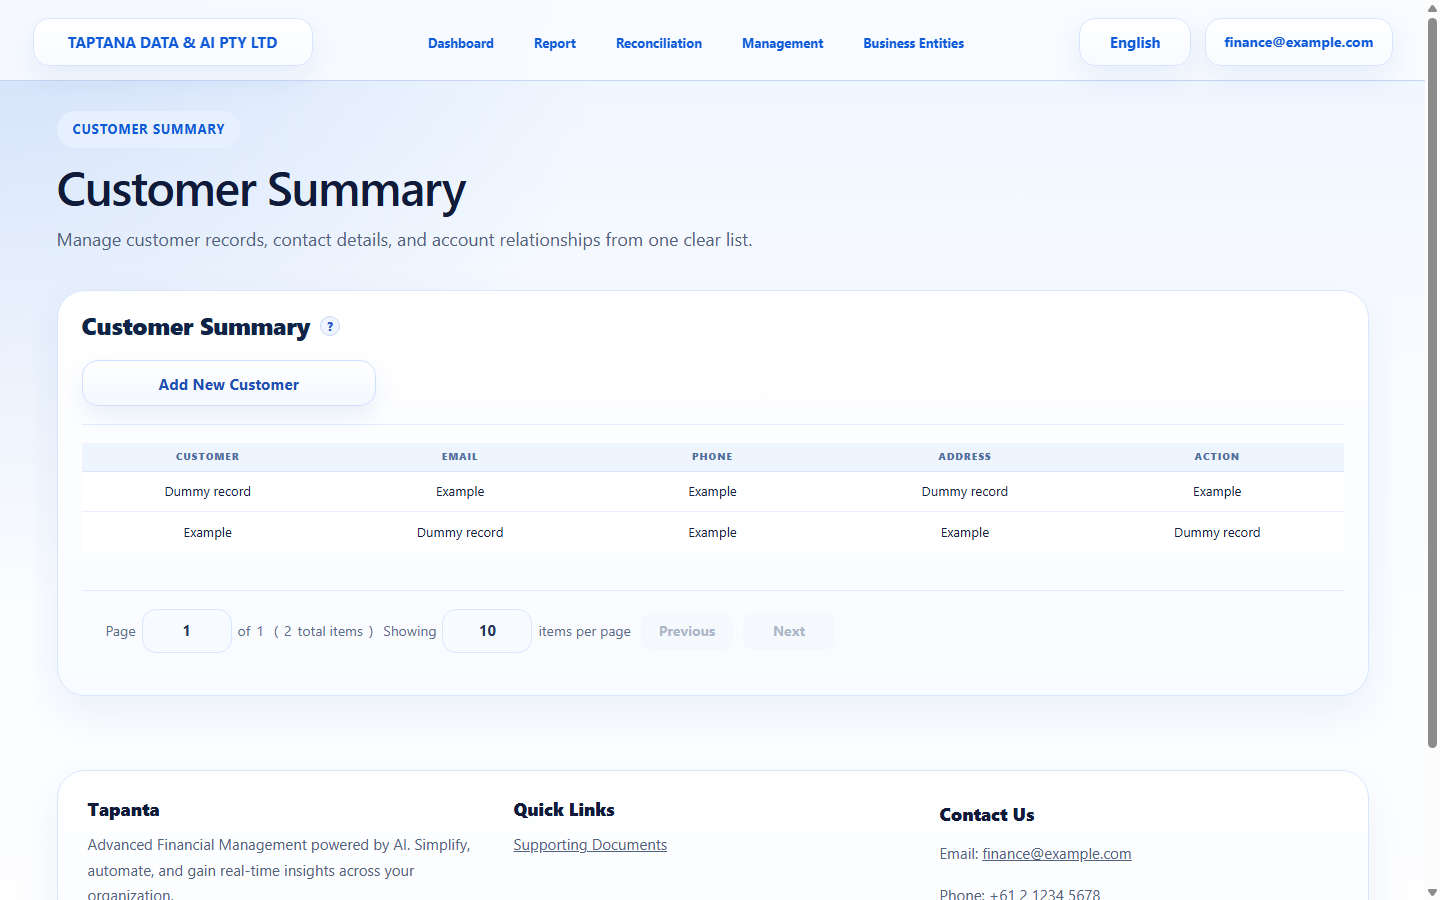
Open Business Entities, then Customer.
Expected result Customer list is visible.
 Business Entities
Click target: Business Entities -
2
Choose Add Customer
Click Add Customer and fill customer name, email, ABN, phone, and address fields.
Expected result Required fields are complete.
Add Customer
Click target: Add Customer -
3
Save the customer
Save and wait for the customer table to reload.
Expected result The new customer appears in the list.
Save Customer
Click target: Save Customer -
4
Use in invoice
Start an invoice and confirm the customer can be selected.
Expected result The customer is available in invoice creation.
Customer selector
Click target: Customer selector
Confirm before you finish.
- Customer name is unique enough to identify.
- Invoice email is correct.
- Customer can be selected in invoices.
Recover without losing control.
- If duplicate, update the existing record instead.
- If email is wrong, edit before sending an invoice.